How to Set Up a Home Lab for AI Development
Setting up a home lab for AI development is simpler than you think. You need a dedicated server or PC, GPU acceleration (NVIDIA preferred), virtualization software (Docker or Proxmox), and AI frameworks like TensorFlow or PyTorch. Start with a used workstation (e.g., Dell Precision) and an RTX 3060 GPU. Install Ubuntu Server, Docker, and Jupyter Lab. This guide walks you through the exact steps, hardware choices, and free resources available at freeresource.store to get you coding AI models in under a weekend.
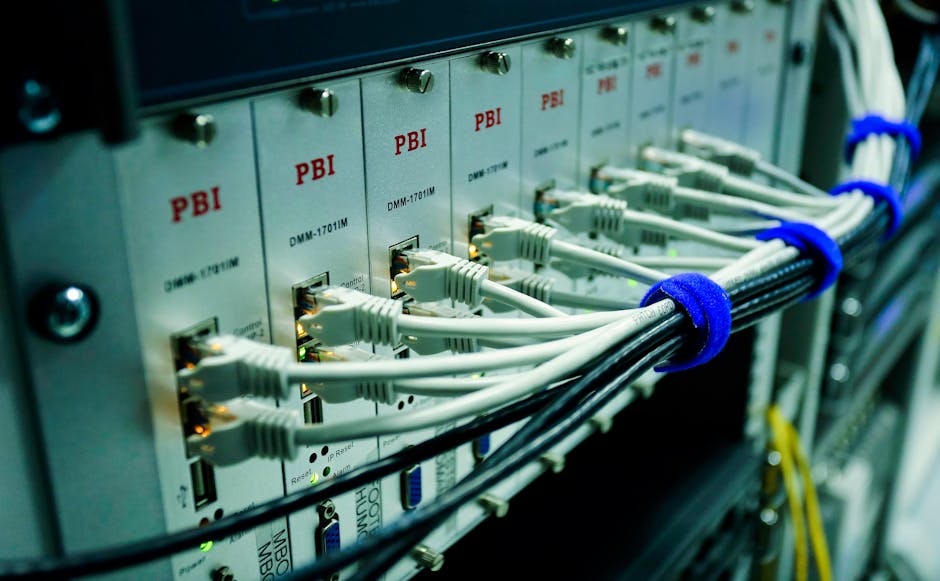
*Photo by Sergei Starostin on Pexels*
## Why Build a Home Lab for AI?
A home lab gives you full control over your AI development environment. You avoid cloud costs, data privacy risks, and internet dependency. You can experiment with large language models (LLMs), fine-tune models, or run inference 24/7.
- Cost-effective: No monthly cloud bills
- Privacy: Sensitive data stays local
- Learning: Hands-on experience with Docker, Kubernetes, and GPUs
## Hardware Requirements for AI Home Lab
Your home lab hardware must handle GPU-intensive tasks. Here’s a recommended baseline:
| Component | Minimum | Recommended | Best |
|---|---|---|---|
| CPU | Intel i5 / AMD Ryzen 5 | Intel i7 / AMD Ryzen 7 | AMD Threadripper / Intel Xeon |
| RAM | 16 GB | 32 GB | 64 GB+ |
| GPU | NVIDIA GTX 1660 | RTX 3060 12GB | RTX 4090 / A4000 |
| Storage | 512 GB SSD | 1 TB NVMe | 2 TB NVMe + HDD for data |
| Power Supply | 500W | 750W | 1000W+ |
Pro tip: Buy a used Dell Precision T5810 or HP Z440 workstation. Add an RTX 3060 and 32GB RAM for under $800.
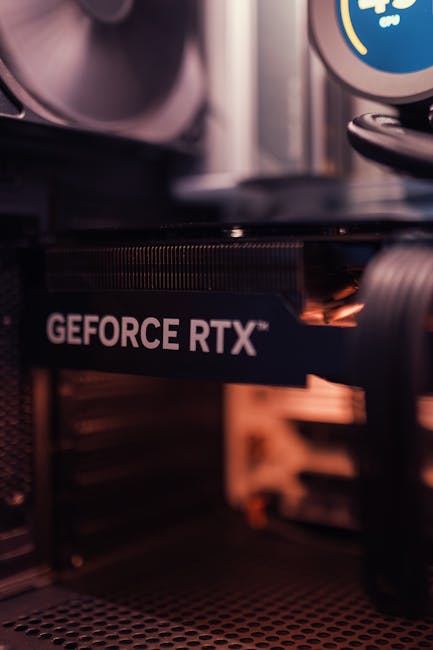
*Photo by Matheus Bertelli on Pexels*
## Step 1: Install the Operating System
Ubuntu Server 22.04 LTS is the industry standard for AI development. It’s free, stable, and supports all major AI tools.
1. Download Ubuntu Server ISO from ubuntu.com
2. Create a bootable USB using Rufus or Balena Etcher
3. Boot from USB and follow the installation wizard
4. Select “Install OpenSSH server” during setup
5. Set a static IP address for remote access
Pro tip: Enable ZFS filesystem during installation for snapshots and easy rollbacks.
## Step 2: Install NVIDIA Drivers and CUDA
AI frameworks need CUDA to utilize your GPU. Run these commands:
“`bash
sudo apt update
sudo apt install nvidia-driver-535
sudo apt install nvidia-cuda-toolkit
“`
Verify installation with `nvidia-smi`. You should see your GPU model and driver version.
## Step 3: Set Up Docker and Docker Compose
Docker lets you run AI tools in isolated containers. This is crucial for managing different environments.
“`bash
sudo apt install docker.io docker-compose
sudo systemctl enable docker
sudo usermod -aG docker $USER
“`
Log out and back in. Test with `docker run hello-world`.
## Step 4: Deploy AI Development Tools
Now install the core tools for AI coding. Use Docker images for instant setup.
### Jupyter Lab
“`bash
docker run -d -p 8888:8888 –gpus all jupyter/datascience-notebook
“`
Access at `http://your-ip:8888`. Use the token from logs.
### TensorFlow with GPU
“`bash
docker run -it –gpus all tensorflow/tensorflow:latest-gpu
“`
### PyTorch with CUDA
“`bash
docker run -it –gpus all pytorch/pytorch:latest
“`
*Photo by Daniil Komov on Pexels*
## Comparison: Docker vs Native Installation
| Feature | Docker | Native |
|---|---|---|
| Setup time | 5 minutes | 30+ minutes |
| Isolation | Full | None |
| Reproducibility | Excellent | Variable |
| Resource overhead | Low | None |
| Easy rollback | Yes | Manual |
Recommendation: Use Docker for development, native for production inference.
## Step 5: Access Your Lab Remotely
Your home lab is useless if you can only work from the physical machine. Set up remote access:
1. SSH: Already installed with Ubuntu Server
2. VS Code Remote: Install Remote-SSH extension
3. Jupyter Lab: Already running on port 8888
4. NGINX: Reverse proxy for multiple services
For security, use SSH keys and disable password login. Set up a firewall with `ufw`.
## Free Resources from freeresource.store
Your home lab needs software and tools. freeresource.store offers free downloads for AI developers:
- Docker Compose templates for LLM deployment
- Pre-configured AI model files (Llama 2, Mistral)
- Developer resource packs (API keys, SDKs, scripts)
- AI tool collections (AutoGPT, LangChain, Stable Diffusion)
All resources are free for members. Sign up to access the full library.
## Optimizing Your Home Lab for AI Workloads
To get the best performance, follow these tips:
- Monitor GPU temperature: Keep below 80°C
- Use swap space: Set 16GB swap for large models
- Enable Docker GPU support: Add `–gpus all` flag
- Schedule training at night: Use cron jobs
- Backup your data: Use rsync or BorgBackup
## Common Mistakes to Avoid
- Using integrated graphics: Won’t work for AI
- Insufficient RAM: Models need 16GB+ easily
- Skipping Docker: Leads to dependency hell
- No static IP: Hard to access remotely
- Ignoring cooling: GPUs throttle when hot
## Conclusion
Building a home lab for AI development is a smart investment for any developer. With a used workstation, NVIDIA GPU, and Docker, you can create a powerful environment for training models, running inference, and learning AI. The total cost can be under $800, and you save hundreds per month in cloud fees.
Start today: grab a GPU, install Ubuntu, deploy Docker containers, and download free resources from freeresource.store. Your AI journey begins at home.
👉 Join freeresource.store now for free Docker templates, AI model files, and developer tools to accelerate your home lab setup.